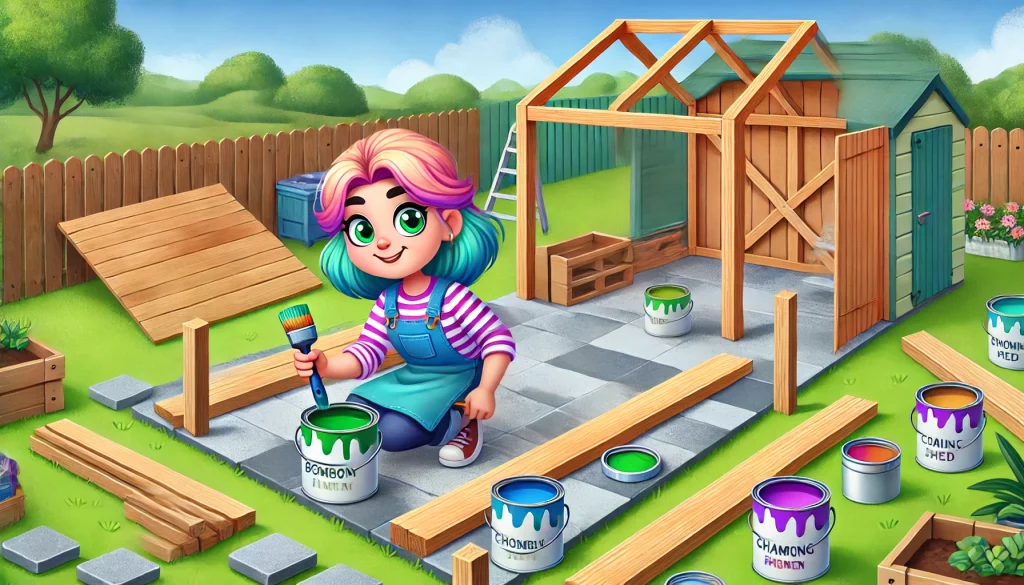
This is my plan for the next week/month/however long it may take. Okay, we really know I’m using my husband as slave labour, but, he knew what he was signing up for when he married me.
We’re turning my dreams of a community sharing space into reality! I don’t care if you pay for your eggs, if you swap for them, or what. I understand times are hard, life is hard, and food is essential. I’ve been homeless myself in the past and had the reallt difficult situation of my rent costing more than my wages. There are times where without help from people around me, I would not have scraped though. This is my way of paying back the kindness I have received in the past.
I hope you follow along as we work on the Spam Valley Sharing Shed! Bringing our community together in what I hope will be a meaninful way.
Here’s what needs to happen to get this shed up and running.
Step 1: Slab & Foundation
First, we’re moving a paving slab from the weird patio thing in the back garden. We’ve been dismantling it for years. A friend kindly lent us a trolley to make this a bit easier. It will then need securing it out front, probably with concrete. The shed needs a solid base to stand on, and this slab is just the start of what’s to come!
Step 2: Anchor In The Fence Posts
Next, we’ll be measuring for the fence posts. This shed will be right in line with the fence we’ve been working on. Postcreting is essential for these two posts as they will keep the shed in place, which is essential to ensure the shed is weather-resistant and ready for community use. Also the high winds here can be a nightmare.
Step 3: First Coat of Paint
With the shed still in flat pieces, we’re giving it a base coat of paint. Doing it this way means no missed spots, plus, it adds a nice protective layer for all seasons! So far it’ll be pink, purple and blue!
Step 4: Assembly Time!
Now comes the fun part! Building the shed itself! As each side wall goes up, it’ll be secureeed to the fencing posts for extra stability. The structure will start to come together before our eyes!
Step 5: Final Coat of Paint
Once everything’s in place, we’ll add the finishing coat of paint. This step brings a little extra charm and keeps the shed Spam Valley worthy!
Step 6: Stock and Share
With the shed complete, we’ll stock it with essentials and goodies for everyone to enjoy. It’ll be a space for sharing food, household items, and whatever else the community might need. Ideally nonpreishable to avoid food waste. This also expands on the take what you need, pay what you can mentality we have here.
We may even have a grand opening, in which case I’ll be sharing it everywhere on Facebook!
Step 7: Building the fence
We’ve been wanting a fence for a while. There’s been incidents of litter appearing in the front garden. I don’t want to think someone is doing this intentionally, but recently it’s started happening more and more. If it is just blowing in then the fence should stop this. We also had the weird weedkiller incident, where someone intentionally doused our front garden, including salad plants and chicken fodder, with weed killer.
Step 8: Expand the Sharing!
We’re hoping this is just the beginning! If anyone in our community would like to host a Spam Valley Sharing Shed in their garden, let us know. Together, we can create a network of sharing sheds across Campbeltown, to bring people closer and support each other! Stay tuned as we tackle each step!

Leave a Reply